Learn Svelte: Get Started with Svelte Writing a Pomodoro Technique App

Svelte is a modern web framework that takes a novel approach to building web applications by moving the bulk of its work from runtime to compile-time. Being a compiler-first framework allows Svelte to do some very interesting stuff that is unavailable to other frameworks like disappearing from your application at runtime, or allowing for a component centered development with HTML, JavaScript and CSS coexisting within the same Svelte file in a very web standards friendly fashion.
In this series we’ll follow along as I use Svelte for the first time to build an app. I’ll use my go-to project1 to learn new frameworks: A Pomodoro Technique app, which is a little bit more involved than a TODO list in that it has at least a couple of components (a timer and a list of tasks) that need to interact with each other.
Building a Pomodoro Technique App
For you who are not familiar with the Pomodoro Technique a little bit of context may be in order. Let’s do a quick TLDR!
The Pomodoro Technique is a technique whose purpose is to help you become more productive by strengthening your focus and helping you learn about what makes you distracted.
In essence, the technique prescribes that you work on tasks in 25 minutes chunks of uninterrupted focus (a pomodoro unit of time). If you get distracted or someone interrupts you, you write down the cause of your distraction and start the pomodoro from the beginning. As you get better and better with this technique, you’ll become a master of your distractions. You will be able to remain focused for longer and complete more pomodoros, becoming more productive each day.
If you are interested, you can learn more about the this technique from its maker. I’ve found over the years that this technique has been specially helpful to push me to focus on the task at hand in those moments in life when it’s been the most difficult.
So an app that supports this technique needs to have, at the very least, a list of tasks that you want to get done during a day and a pomodoro timer that marks the periods of focused work. The app can be then expanded with a way to take notes of your frequent distractions, a way to track how you progress over time, etc, etc.
In this series of articles we will focus on developing an MVP and implement a list of tasks and the pomodoro timer.
Let’s get started! Wihoo!
Getting Started with Svelte
The easiest ways to get started with Svelte is by:
- Going through the Svelte tutorial in svelte.dev
- Tinkering within the Svelte REPL in svelte.dev
- Creating an app from scratch using the svelte template
Although I think that going through the tutorial is really helpful to learn the syntax of Svelte and the things that are available, I think that the best way to learn something is by actually doing it in an environment as close to how it’d be to develop a Svelte app in the real world. You need to struggle solving problems yourself to really learn something. So that’s why we’ll follow step 3 and take advantage of the Svelte template to create the Pomodoro Technique app.
Creating a New Project
We generate a new project using degit (a project scaffolding tool also authored by Rich Harris the creator of Svelte). Type:
$ npx degit sveltejs/template il-pomodoroThis creates a brand new Svelte project inside the il-pomodoro directory. We jump in, install the dependencies and run the development server:
# Jump in
$ cd il-pomodoro
# Install the dependencies
$ npm install
# Run the development server
$ npm run dev
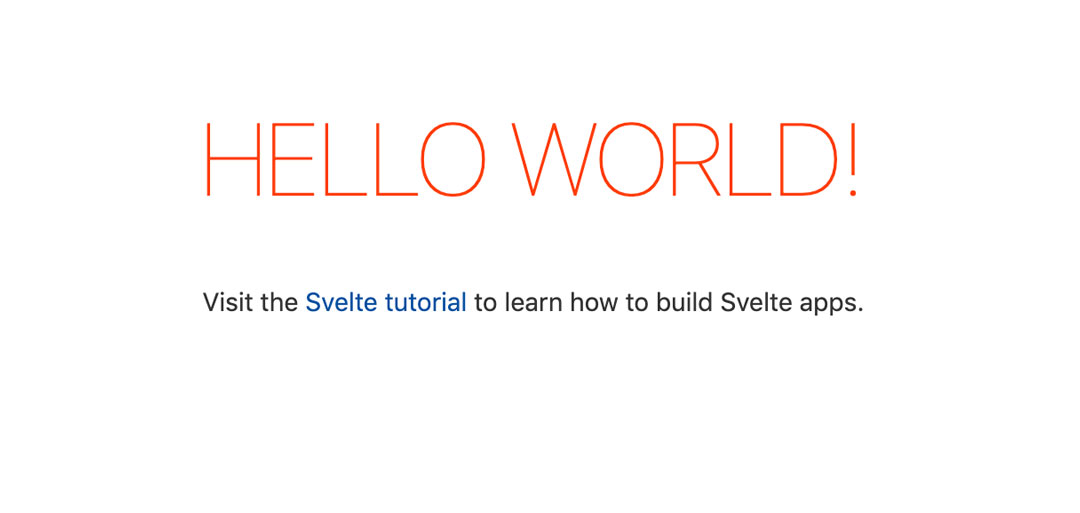
Now we open a browser on localhost:5000 and let’s see what we get…
TaDa! Svelte hello world!
Setting up Your Editor
Svelte is a compiler-first framework which compiles .svelte files that represent Svelte components to build web applications. That special .svelte extension and the non Web Standard syntax that I’ve seen in the tutorials tells me that I’m going to need some additional support in my editor to handle Svelte. The Svelte blog has a nice article on how to setup your editor to work with Svelte. I typically work with either Vim or VSCode so let’s setup both of these editors to work with Svelte.
Setting Up VSCode to Work With Svelte
For VSCode there’s the svelte-code plugin that provides support for .svelte syntax highlighting, diagnostics, autocompletion and lots more.
Setting Up Vim to Work With Svelte
For Vim the setup your editor article doesn’t provide a lot of support. It basically tells you to change the filetype of .svelte files to HTML. After some digging I found a couple of plugins that will make your Svelte experience much better in Vim and up to the standards of VSCode:
- vim-svelte which provides syntax highlighting and indentation to
.sveltefiles - coc-svelte which provides advanced IDE-like support for Svelte development by hooking to the Svelte LSP 2. This is an extension to the coc.nvim autocompletion plugin (which happens to be my favorite completion plugin for vim).
Ok, so now that we have our editors set up, let’s take a closer look at our new Svelte project.
The Lay of the Land
We open the il-pomodoro folder inside our editor and we see a bunch of files and folders:
- a
srcfolder with the source code for the Svelte hello world app - a
publicfolder which will contain our web app after its compiled and processed by the Svelte compiler - a
rollup.config.jswhich contains the configuration for our bundler (rollup). Rollup is the one in charge of processing our source code files using Svelte to produce dev and prod bundles that can run in a browser.
The very interesting part for a beginner happens inside the src folder so that’s where we’ll look next. This folder contains just two files:
App.sveltewhich is the root component for our applicationmain.jswhich contains the bootstrapping code to initialize our app
The file that comes forward as the entry point of our application is main.js:
import App from './App.svelte';

const app = new App({
	target: document.body,
	props: {
		name: 'world'
	}
});

export default app;
Which creates a new Svelte App component and attachs it to the document.body with a single prop called title whose value is world.
Let’s look at what App is exactly:
<script>
	export let name;
</script>

<main>
	<h1>Hello {name}!</h1>
	<p>Visit the <a href="https://svelte.dev/tutorial">Svelte tutorial</a> to learn how to build Svelte apps.</p>
</main>

<style>
	main {
		text-align: center;
		padding: 1em;
		max-width: 240px;
		margin: 0 auto;
	}

	h1 {
		color: #ff3e00;
		text-transform: uppercase;
		font-size: 4em;
		font-weight: 100;
	}

	@media (min-width: 640px) {
		main {
			max-width: none;
		}
	}
</style>
I see! So a Svelte component is a bit of reusable UI which encapsulates the markup of a component (HTML), its behavior (JavaScript inside a <script> tag) and its look and feel (CSS inside the <style> tag). Cool! That makes sense.
If we home in into the markup we can understand what we’re seeing in the browser when we point it to localhost:5000:
<main>
	<h1>Hello {name}!</h1>
	<p>Visit the <a href="https://svelte.dev/tutorial">Svelte tutorial</a> to learn how to build Svelte apps.</p>
</main>
The prop name is passed to the component on instantiation and it’s saved in that name variable:
<script>
	export let name;
</script>
Which is then propagated to the markup of the component and is rendered inside the h1 tag that we see in the browser. Cool! The slightly strange yet familiar export let name syntax has to be the way a Svelte component defines its API to the external world as props.
Adding a Title
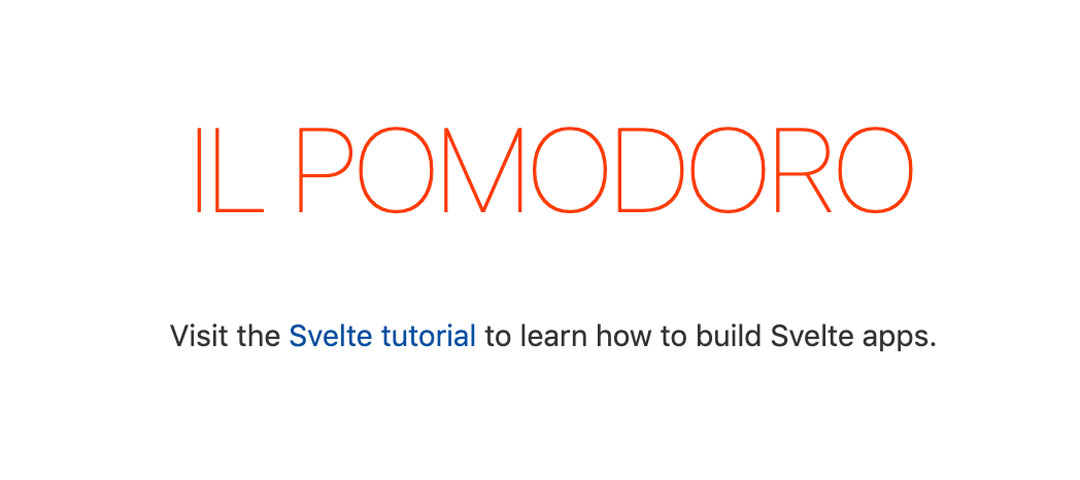
Let’s start tinkering with something simple, like adding a title for our first view of the app and binding it to some data. The initial template gives me a hint of how to do that. I just need to add a new variable to my component to contain that title. Since I have no use for the name variable in the original template I’ll just replace it:
<script>
  export let title
</script>
And update main.js to inject the title of my app:
import App from './App.svelte';

const app = new App({
	target: document.body,
	props: {
		title: 'il Pomodoro'
	}
});

export default app;
On a second thought, I don’t really need to expose that variable as a prop. We’re not expecting for the users of this component to change this title so we’ll just keep it as part of the internals of the component.
Let’s rewrite our App component to do this instead:
<script>
	let title = "il Pomodoro";
</script>
And finally I’ll update the HTML template to use the title instead of name:
<main>
  <h1>{title}</h1>
</main>
Nailed it!
A List of Tasks
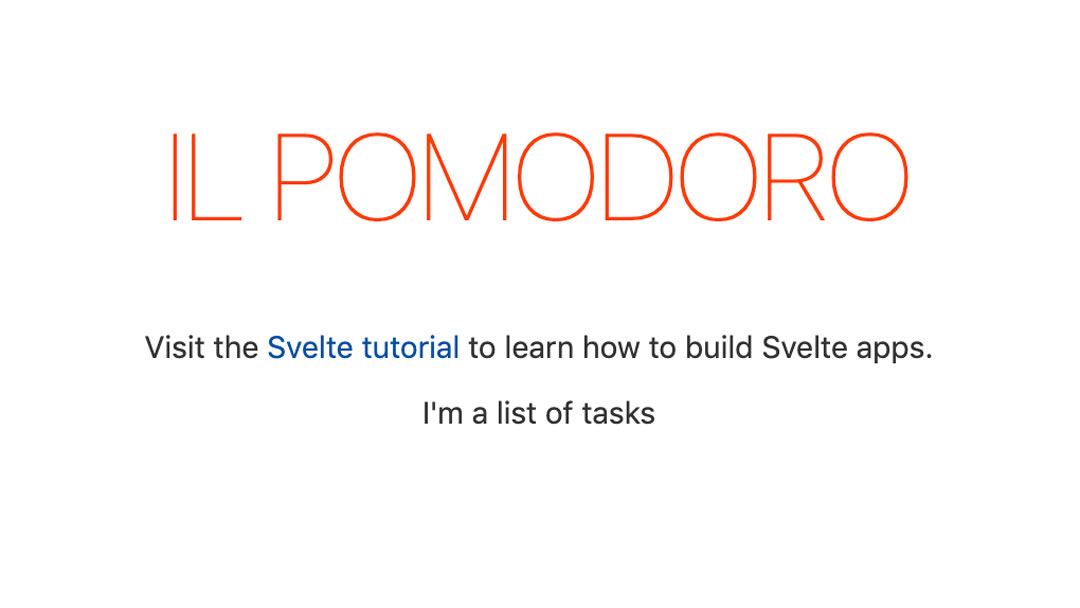
Awesome! Let’s continue creating a very simple list of Tasks. Since this feels like a completely separate responsibility we’re going to put it in its own component.
I create a new file TaskList.svelte to represent that new component and add some markup so as few things as possible can go wrong when I use it from my App.svelte:
<p>I'm a list of tasks</p>I add it to App.svelte:
<script>
	let title = "il Pomodoro";
</script>

<main>
  <h1>{title}</h1>
  <TaskList />
</main>

<style>
/* styles omitted for sake of clarity. They'd be here. */
</style>
And… It doesn’t work. Hmm… what am I doing wrong…
Both VSCode and the browser warn me of the following:
'TaskList' is not defined. svelte(missing-declaration)Which tells me two things:
- My vim setup is not working as expected because I’m not getting an error inside the editor (something to troubleshoot later), and
- I seem to have forgotten to import the component!
Of course! So I add it to the App.svelte component:
<script>
  let title = "il Pomodoro";
  import TaskList from './TaskList.svelte';
</script>

<main>
  <h1>{title}</h1>
  <TaskList />
</main>
And… Yes!
Now let’s add some tasks. My top 3 tasks for today are:
<script>
  const tasks = [
    "plan some fun trip with Teo",
    "buy some flowers to my wife",
    "write an article about Svelte"
  ];
</script>
And now I need to show those on the screen within a list. Svelte has a special way to iterate over lists inside a template: the {#each} block.
It works like this:
<ul>
  {#each tasks as task}
    <li>{task}</li>
  {/each}
</ul>
So we iterate over each task in the list of tasks and put it inside an list item li element. We also remove the dots from the list because they look awful:
<style>
  ul {
    list-style: none;
  }
</style>
And this is what we get:

Ding Ding Ding! The Pomodoro has ended. Gotta go! We’ll continue with more Svelte, an interactife task list and a pomodoro timer very soon.
Some Reflections So Far
Awesome! That was a quick way to get started with Svelte. Here are my impressions thus far:
- svelte.dev is really awesome.
- The interactive tutorial has a step by step introduction that takes you by the hand throughout all the features and important concepts of Svelte.
- The Svelte playground is really cool, it lets you tinker with Svelte creating multi-file apps, save them and share them with your friends and colleagues.
- The dev docs are really nice as well, very comprehesive and with lots of examples. Bookmark them and use as reference as needed.
- All of the above provide a wonderful first contact with Svelte which is super appreciated when you first jump into a new ecosystem.
- The way to start a new project was slightly weird. I’m accustomed to all popula frameworks having a CLI and it was mildly confusing to use
npx degit etc...to create a new project. But after the first 5 seconds of confusion I just ran the command and got on with my life. - My first impression with the text editor support wasn’t great, for instance, VSCode didn’t offer me statement completion inside the Svelte template which I would’ve expected to work (e.g. allowing me to filter the
tasks). In the brief time I experimented with Svelte I didn’t get the Vim setup working properly. - Using Svelte itself is a really nice experience.
- At first contact it feels very Web Standards friendly and things work as you expect them to work. The principle of least surprise applies really well to Svelte.
- I enjoyed the flat structure of the Svelte component and the way it partitions a component in HTML markup, Javascript (
<script>) and CSS (<style>) makes a lot of sense. The amount of boilerplate is almost negligible. - Injecting data in the markup is trivial
- Exposing props using
exportalthough non standard makes a lot of sense and is easy to understand. - I wonder why Svelte uses
{#each tasks as task}when it could use{#for task of tasks}and reduce the cognitive load of the person learning Svelte. (that is, the need to learn more custom syntax)
And that’s all for today! Hope you enjoyed the article. Take care and await excited for more Svelte to be coming soon.
Fixing Svelte in Vim
After some troubleshooting I realized that following the recommendations in the Svelte blog I had previously setup Svelte with an autocommand to update the filetype of .svelte files to html:
augroup svelte
au! BufNewFile,BufRead *.svelte set ft=html
augroup END
This meant that coc-vim and the svelte syntax files weren’t applied because they expected a filetype of svelte. After removing the autocommand everything works just as good as in Visual Studio Code. Wihoo!
- Check this super old pomodoro technique app I wrote using Knockout.js back in the day I started doing web development.↩
- LSP stands for Language Server Protocol. (From wikipedia) It is an open, JSON-RPC-based protocol for use between text editors or IDEs and servers that provide programming language-specific features. The goal of the protocol is to allow programming language support to be implemented and distributed independently of any given editor or IDE.↩

Written by Jaime González García , dad, husband, software engineer, ux designer, amateur pixel artist, tinkerer and master of the arcane arts. You can also find him on Twitter jabbering about random stuff.
